Professional Drywall Hole Patching Materials
Drywall hole patching is the technical process of restoring damaged wall surfaces to a smooth, professional finish. If you want the repair to disappear after paint, the materials matter as much as the technique. Our team has handled these repairs across Carmel, Zionsville, Fishers, and Westfield for nearly 30 years. The repairs that hold up over time are the ones built on the right compound, the right reinforcement, and a clean finish sequence.
The first decision is size. That dictates whether you are filling, bridging, or rebuilding. Trying to bridge a large opening with the wrong patch system leads to cracking, sagging, and flashing after paint.
| Hole Size | Method | Key Materials |
|---|---|---|
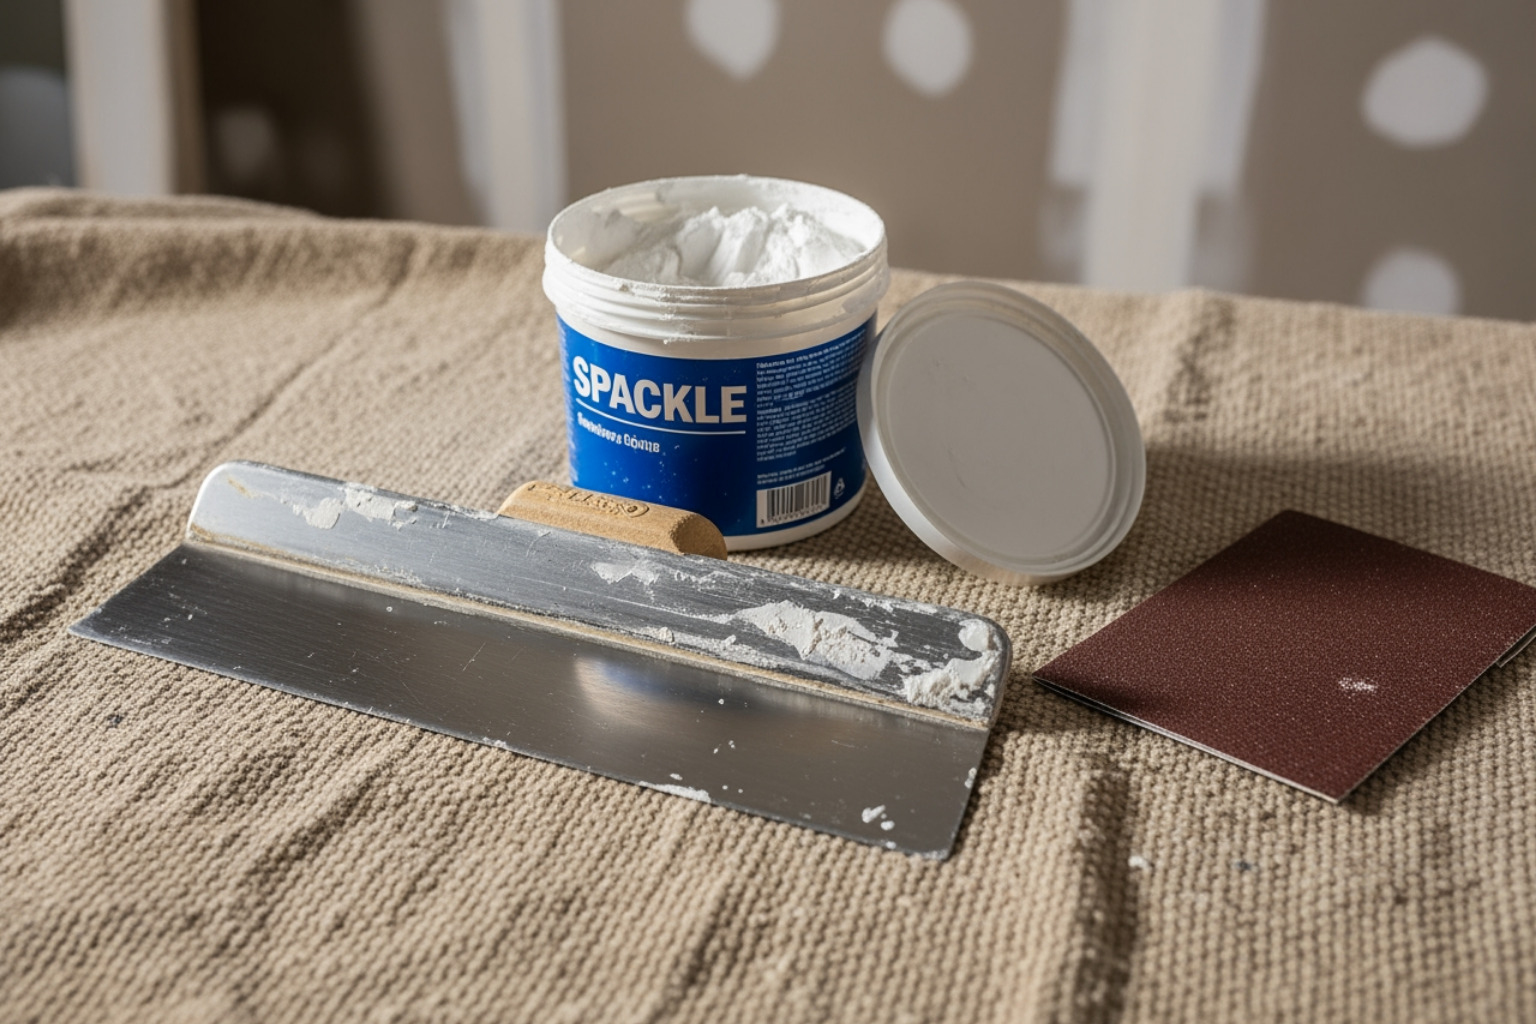
| Under 1/2 inch | Spackle only | Putty knife, lightweight spackle |
| 1/2 to 6 inches | Adhesive mesh patch | Mesh patch, joint compound, sanding sponge |
| Over 6 inches | Full drywall patch with backing | Scrap drywall, wood backing, joint compound, mesh tape |
A professional-grade setup also includes control items, not just patch items. Dust containment, surface protection, and lighting are part of the material list because they affect the final look. In higher-end homes, the standard is not just a solid wall. The standard is a repair that does not telegraph through a premium paint finish.
For small nicks and nail holes, we utilize high-strength materials like the 3M High Strength Small Hole Repair Kit. These products resist shrinking and provide a stable base. For larger damage, professional setting-type compounds like USG Sheetrock Brand Easy Sand are used. These compounds harden through a chemical reaction, which is necessary for structural fills and for building a patch that stays flat.
Compound choice also affects sanding and finishing time. A repair can look fine when it is wet, then sink at the edges as it dries. That is a common cause of a visible ring after primer and paint. Using the right compound in the right layer prevents that.
| Material Type | Best Use Case | Pros | Cons |
|---|---|---|---|
| Spackle | Nail holes, small dents | Dries fast, minimal sanding | Brittle, shrinks in large holes |
| Pre-mixed Joint Compound | Final finish coats | Smooth consistency, easy to use | Long drying time, high shrinkage |
| Quick-set Mud (Hot Mud) | First coats, large fills | Very strong, dries hard and fast | Harder to sand, must be mixed |
Tools matter because they control the feather. A 6 inch knife and a 10 inch knife are the baseline for most wall repairs, and wider knives are common when blending into a high-gloss or high-light area. High-quality sanding sponges help keep the plane flat without digging grooves. Adhesive mesh and mesh tape are used where appropriate to keep the repair stable, especially where there is vibration, door traffic, or frequent temperature swings.
If a wall has a strong side light from a window or a long hallway view, you need better materials and better finishing discipline. Those are the areas where shortcuts show up later.

Preparation and Safety Standards

Professional repair begins with site preparation. If the surface is not clean and stable, no compound or patch system is going to hold up long term. We start by protecting floors and adjacent finishes because drywall dust and wet compound travel. In finished homes, this step is part of working to a higher standard.
Irregular damage is cut into clean, square sections to provide a stable surface for the patch. A squared opening gives you sound gypsum at the edges, which is what the compound and tape need to bond correctly. Loose paper, crumbling gypsum, and soft edges are removed instead of buried. If you cover unstable material, it fails later.
Safety is a priority in Carmel and Zionsville homes. We identify the location of electrical lines and plumbing before any cutting or fastening begins. That includes checking for outlets, switches, low-voltage runs, and any evidence of past remodel work that can put wiring in unexpected places. When the repair is near kitchens, baths, or exterior walls, we also account for the higher chance of plumbing and insulation behind the board.
The final prep step is surface control. We remove dust, set the edges, and make sure the repair area is flat enough that the patch can be feathered without creating a hump. A flat, clean surface is necessary to ensure the final repair is invisible after primer and paint.
For complex damage, our specialized Drywall Repair services are available.
Compound Selection and Application
Selecting the correct compound is a technical requirement for high-end results. The goal is a repair that stays flat, does not crack at the perimeter, and does not flash through paint. That comes down to using the right product for the right layer, then applying it in controlled coats.
For damage between a half inch and six inches, we utilize professional-grade materials like the 3M High Strength Large Hole Repair Kit. In this range, the patch is bridging a void, so the compound has to do more than look smooth. It has to lock the patch in, build strength, and keep its shape as it cures.
Professional application focuses on managing shrinkage. Standard drying compounds can cave in as they dry, especially on the first coat over a patch. That leads to extra coats, extra sanding, and a higher chance the repair shows under certain lighting. Quick-set mud maintains its volume better for a more stable base coat. It also reduces the risk of edge cracks where the patch meets the existing wall.
Layering is the difference between a repair that blends and one that looks like a repair. We apply compound in thin coats, letting each layer do its job. The first coat establishes the bond and structure. The next coats build the feather and remove transitions. The final coat is about surface quality. Achieving a seamless finish requires precise feathering of the edges to taper the repair into the surrounding wall.
For smaller, high-precision repairs, the 3M High Strength Small Hole Repair All-in-One Tool is often used. It helps control fill depth and edge profile, which matters when the repair is in a focal area like a stairwell, entry, or a wall with strong side light.
In higher-end properties, we also plan the repair around the finish schedule. That means accounting for cure time, humidity, and primer requirements so the surface stays uniform when the final paint goes on.
Structural Support for Large Damage
Damage exceeding six inches requires structural support. If the opening is large enough that the drywall can flex, a mesh patch alone is insufficient for these openings. The repair needs backing so the new board is rigid and the seams do not move.
We install wood backing or furring strips inside the wall to create a solid frame. The backing is secured to sound drywall on both sides of the opening so the patch has something firm to fasten to. This ensures the new drywall section is secure and will not sag or crack. Movement is what causes callbacks, especially in hallways, stairwells, and near doors where the wall sees regular vibration.
In Fishers and Westfield, we match the existing wall thickness to maintain a uniform surface. Thickness differences show up at the joint line, and they are hard to hide under modern paint finishes. Once the patch is fastened, the seams are reinforced and finished with a sequence that builds strength first, then blends the surface.
This structural approach is a core part of our Drywall Hang and Finish standards. It is also the difference between a repair that looks good right away and a repair that still looks good after seasonal changes.
Finishing and Texture Matching
The finishing process determines the final appearance of the repair. This is where most repairs either disappear or stay visible forever. A good finish is not just smooth to the touch. It has to be flat across the light and consistent in texture so paint reflects the same way as the surrounding wall.
We use professional tools like the 3M Pro Grade Precision Sanding Sponge to achieve a smooth surface without digging grooves or rounding edges. Sanding is controlled and deliberate. Over-sanding at the perimeter is a common reason a patch shows after paint.
In occupied homes, wet sanding is used when appropriate to reduce airborne dust and keep it out of the HVAC system. We also use containment and cleanup procedures because drywall dust spreads quickly and settles into trim profiles and flooring texture.
Most walls in the area feature textures such as orange peel or knockdown. Matching these textures is a technical skill that requires an exact splatter pattern and the right dry time before knockdown. The repair has to blend in both texture height and density. If the pattern is too heavy or too light, it catches light differently and draws the eye.
A high-quality primer is applied to seal the patch and prevent flashing. Fresh compound is porous, and paint will absorb differently without primer. That difference shows up as a dull spot, a shiny spot, or a visible outline, especially in darker colors and higher sheen finishes. Priming is also a check step. It reveals small edge lines or surface issues before the final paint goes on.
For more information on local standards, see our Guide to Drywall Repair in Carmel.
Professional Repair Standards
Professional repair standards ensure long-term durability. A patch should not just look good on day one. It should stay stable through seasonal humidity changes, normal wall movement, and everyday wear.
A patch must be reinforced if it is expected to hold weight. Drywall compound and mesh are not structural by themselves. If a wall will support shelving, grab bars, TV mounts, or heavy artwork, the proper approach is to address backing and fastening locations so loads transfer into framing or dedicated blocking.
Ceiling repairs are technically demanding due to gravity and texture matching. Compound wants to slump, and ceilings often show imperfections more than walls because of lighting angles. If the ceiling has a sprayed texture, the blend has to match both the pattern and the surrounding paint sheen. If the ceiling is smooth, the finish tolerance is even tighter.
Achieving a Level Five finish, the highest industry standard for smoothness, is difficult without professional experience. It requires consistent skim coating, careful sanding, and strict control of light and surface flatness so the paint finish reads as uniform.
When damage is extensive, Professional Drywall Repair Over DIY is the most reliable way to ensure a seamless result. In higher-end homes, it is also the best way to protect surrounding finishes and keep the project moving without repeated rework.
Professional Results in Central Indiana
Quality drywall repair restores the structural integrity and value of a property. The end goal is simple. The wall should look continuous, feel flat, and accept paint like the damage never happened.
The Painting Edge has spent over 25 years perfecting these techniques for property owners in Zionsville, Fishers, Westfield, and throughout central Indiana. We focus on durable repairs that hold up, clean jobsite practices, and finish quality that matches the rest of the home.
If you require a finish that looks like the damage never happened, our Professional Drywall Repair Services are available to restore your walls correctly. Reach out to schedule an assessment and get a clear plan for the repair scope and finish requirements.


