Small Drywall Holes and Paint Finish
Drywall fix small holes matters because even minor wall damage will show through a finished paint job if it is not handled correctly.
The main issue is not just filling the hole. It is getting the wall flat, sealed, and ready so the final paint finish looks consistent under normal daylight and interior lighting. In Carmel homes, that standard matters.
At The Painting Edge, we have served Carmel and the surrounding area since 1996. Most small hole repairs come up as part of interior painting work, because wall prep has a direct effect on the final result. If the patch work is not right, the paint will not hide it.
The repair method depends on the size and condition of the damage. Small nail and screw holes usually need a simple fill. Larger punctures and damaged anchor points often need reinforcement and proper finishing so the patched area does not flash, sink, or stand out after painting.
Done right, the repair disappears into the wall and supports a clean paint finish. Done poorly, it stays visible every time light moves across the surface.
Professional Standards for Small Wall Repairs

Small drywall holes are a paint preparation issue first. If the wall repair is not sound, the finish coat will show it.
In Carmel, we see this most often before interior painting projects. Old picture hanging holes, anchor damage, doorknob marks, and minor punctures all affect how a wall looks once it is painted. A proper Drywall Repair: How to Fix a Small Hole in a Wall starts with an accurate assessment of the damage and a clear plan for finishing the surface correctly.
After nearly three decades of work in Carmel homes, we separate these repairs by size and by how they will affect the final coating. Tiny nail holes are one thing. A damaged anchor hole or a puncture from impact is another. Once damage gets beyond roughly 3 inches, it moves out of the small patch category and into more involved repair work. Understanding these distinctions is what allows a painting crew to choose the right approach and deliver a wall that looks uniform from every angle.
Identifying Small Drywall Damage
Proper identification matters because different damage leaves different defects under paint. A trained eye catches things that most property owners overlook, and that assessment drives the entire repair and painting process.
- Nail and Screw Holes: These are usually minor surface voids, typically under 1/4 inch. If filled and sanded correctly, they disappear under primer and paint. They are the most common type of wall damage we encounter during interior painting preparation in Carmel.
- Anchor Holes: These often break the gypsum core and disturb the face paper. They need more than a quick fill if you want a smooth painted wall. Plastic anchors in particular tend to leave ragged edges that must be trimmed back before any filler is applied.
- Impact Dents: These may not break through the wall, but they still telegraph through finish paint if they are not leveled properly. A dent that looks minor in flat light will cast a shadow under raking light from a window or fixture.
- Small Punctures: Holes up to 3 inches need a more deliberate repair so the area stays stable and finishes flat. These often require reinforcement with mesh or a patch kit to prevent cracking after the repair dries.
If the damage is more extensive, it is better handled as part of broader surface preparation or full Drywall Repair work before painting.
Materials Used in Professional Repairs
The right repair material depends on the size of the hole, the condition of the surrounding drywall, and the level of finish the room requires. In Hamilton County homes, where interior finishes are expected to look clean and consistent, material selection is not an afterthought.
| Material | Best Use Case | Pros | Cons |
|---|---|---|---|
| Lightweight Spackle | Tiny nail/screw holes (<1/2 inch) | Minimal shrinkage, smooth finish. | Limited to minor surface repairs. |
| Joint Compound | Holes 1/2 inch to 3 inches | Feathers well, supports a paint-ready surface. | Requires proper drying and sanding between coats. |
| Mesh Tape | Reinforcing holes >1/2 inch | Helps stabilize the repair. | Must be finished correctly or it will show through paint. |
| Setting-Type Compound | Time-sensitive or harder repairs | Strong repair material with good durability. | Less forgiving during finishing. |
Each of these materials has a place in professional wall preparation. The key is matching the material to the specific damage so the repair holds up over time and does not telegraph through the finished paint surface.
For larger wall preparation needs tied to repainting, our Drywall Hang & Finish services handle the surface work that supports a proper final coat.
Repair Work That Supports the Paint Job

Good wall repair is part of good painting. The goal is a flat, stable surface that does not show through after primer and finish coats are applied.
In our work across Carmel, small drywall repairs are usually addressed during interior painting preparation. That is where they belong. A patch is not finished when the hole is filled. It is finished when the wall is uniform in profile, sealed properly, and ready to take paint without flashing or texture differences.
A proper How to Patch and Repair Drywall process starts with cleaning up the damaged area, removing loose material, and making sure the repair can be feathered into the surrounding wall. Torn paper, raised edges, and unstable anchor points all need to be corrected before any finish work happens.
The main steps are straightforward but require attention at every stage.
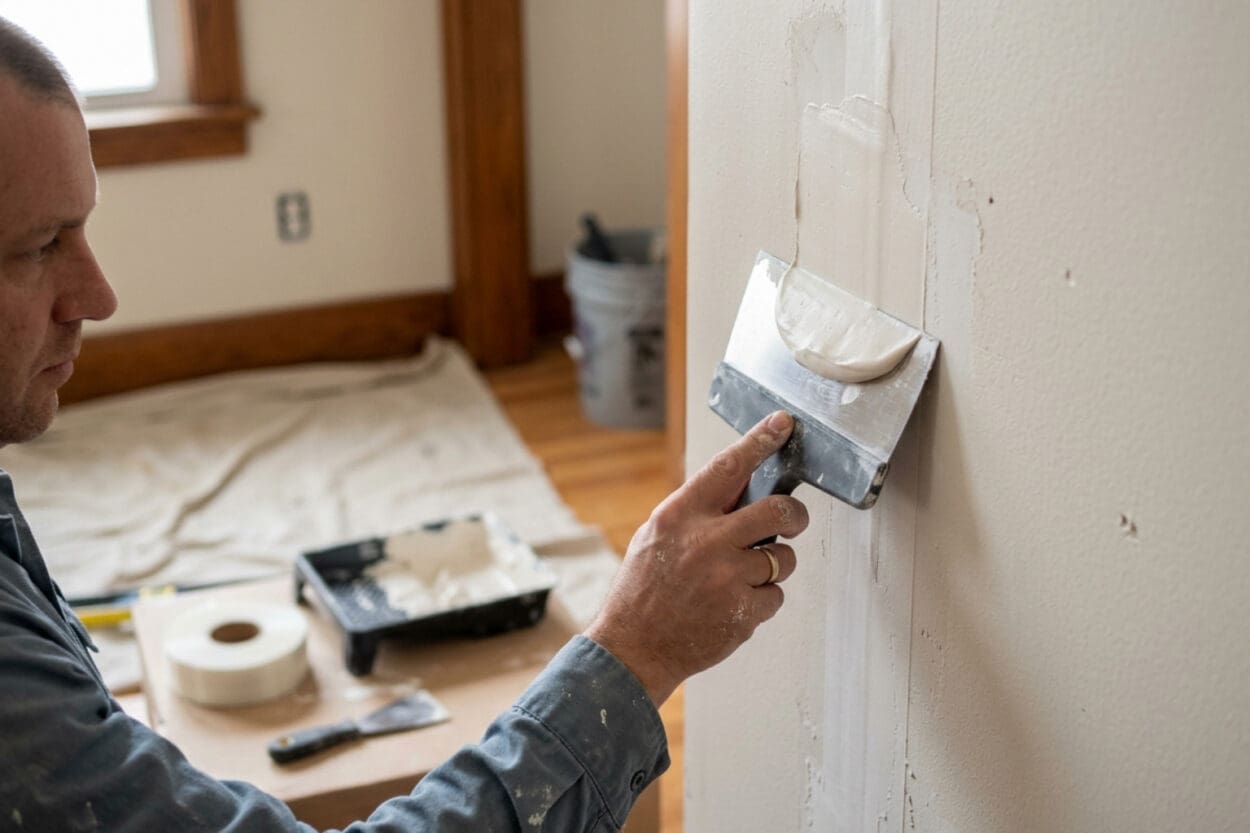
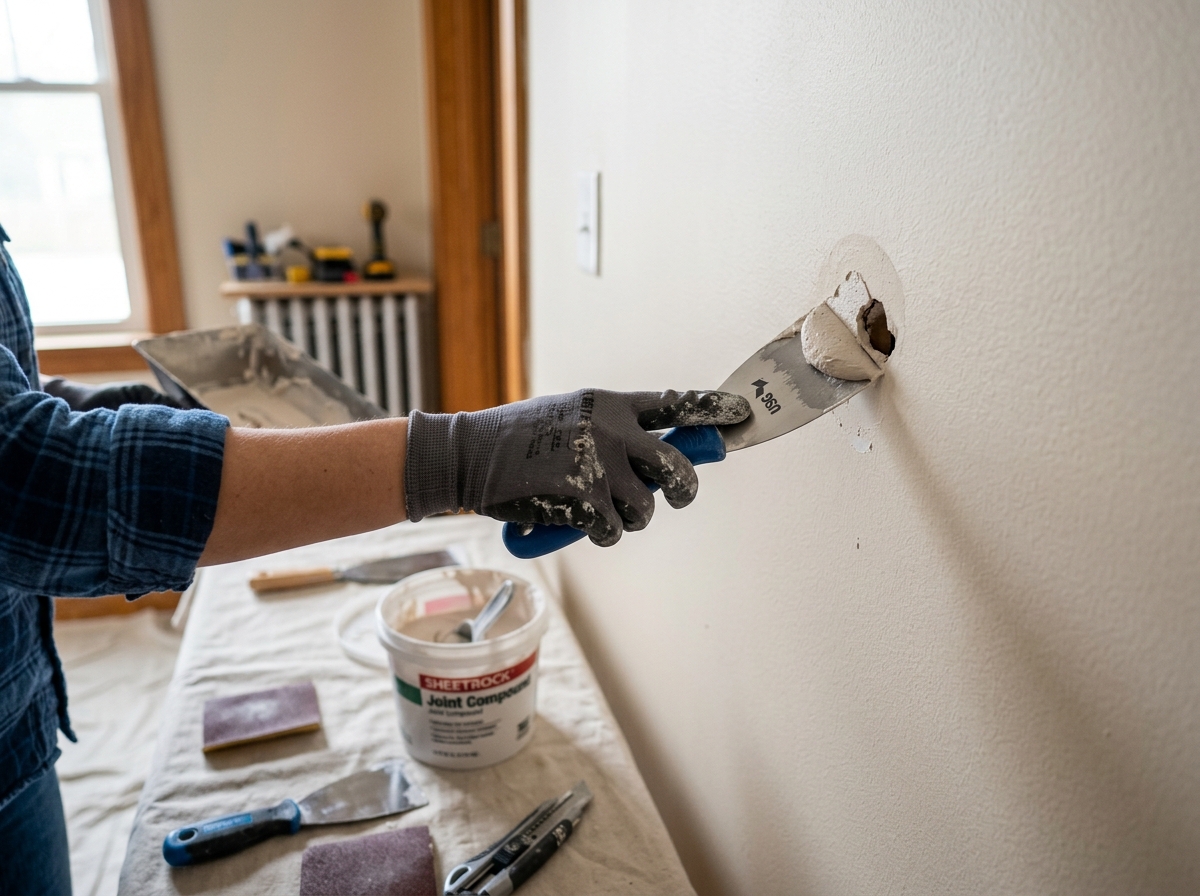
First, the damaged area is prepared. Any loose drywall paper or crumbling gypsum is removed so the filler has a clean surface to bond to. For anchor holes, the anchor itself is pulled or pushed through, and the surrounding area is trimmed back to solid material.
Next, the repair material is applied in controlled coats. For small nail holes, a single application of lightweight spackle is usually sufficient. For anything larger, joint compound is applied in thin layers, allowing each coat to dry fully before the next one goes on. Rushing this step leads to shrinkage cracks that will show through paint.
Once the compound is dry, the surface is sanded flat using 120-grit sandpaper. The goal is to blend the patch into the surrounding wall so there is no ridge or bump at the edges. Dust from sanding is wiped clean with a damp cloth or tack rag before any primer is applied.
Finally, the patch is checked under light before primer goes on. A work light held at a low angle across the wall will reveal any imperfections that need another pass. That sequence matters. If any step is rushed, the paint usually exposes it.
This is routine work for an experienced painting crew, but it still takes care and judgment. After nearly 30 years in business, we know that clean prep work is what separates a patched wall that disappears from one that keeps catching your eye.
Finishing and Painting for Seamless Results
The repair is not finished until the paint is applied. This is where most substandard work stands out. If you paint directly over joint compound, the patch will absorb the paint differently than the rest of the wall, leading to a flashing effect where the patch looks shinier or duller than the surrounding area.
Priming is a non-negotiable step in professional wall finishing. A high-quality primer seals the porous patch and provides a uniform surface for the topcoat. Without primer, even the best repair will telegraph through the finish coat. We find that two coats of paint are almost always necessary to achieve full opacity and a consistent texture across the repaired area.
When painting the patch, technique matters as much as the product. Use a small roller to mimic the stipple or texture of the rest of the wall. If the wall was originally rolled, a brush mark on the patch will be a dead giveaway. Start in the center of the patch and work outward, feathering the paint into the existing wall color. This blending step is what makes the repair invisible under normal lighting conditions.
Color matching is another consideration that property owners in Carmel often overlook. If the paint on the wall is several years old, it may have faded or yellowed slightly. In those cases, painting the entire wall from corner to corner is the most reliable way to ensure a perfect match. Spot painting over an aged finish almost always leaves a visible difference, especially in rooms with large windows or strong overhead lighting.
For residents in Hamilton County, maintaining this level of detail is essential for preserving the aesthetic of the home. You can find more More info about drywall finishing to see how we handle these final touches on a larger scale.
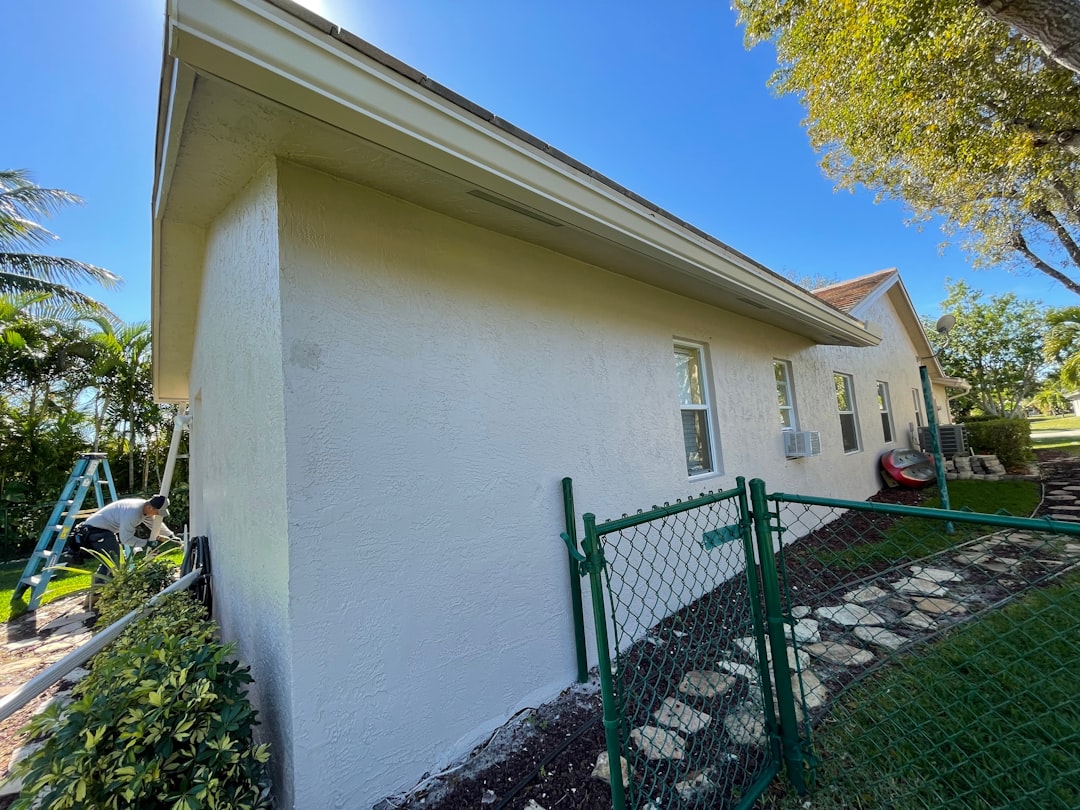
Painting and Drywall Work in Carmel
In Carmel, Indiana, small wall repairs are usually part of a larger painting conversation. Property owners want walls and ceilings to look clean, consistent, and properly maintained. That means drywall repair supports the painting work, not the other way around.
Most of our calls in Carmel involve interior painting, exterior painting, and residential repainting where surface defects have to be corrected before coatings are applied. Commercial spaces have the same requirement. If the substrate is uneven, the finish will show it.
We have been serving Carmel since 1996, with additional work throughout Fishers, Zionsville, and Westfield. Carmel remains our primary focus, and the expectations there are clear. Property owners want straightforward communication, proper preparation, and results that hold up.
If you are weighing the condition of your walls before a repaint, our guide on Why Carmel homeowners choose professional repair gives a direct look at what is involved. For more local context, see our Cracks and Holes and Imperfections in Carmel guide.
Conclusion
A drywall fix small holes project is the foundation of a great paint job. In the Midwest, we take pride in our homes, and that pride is reflected in the details. At The Painting Edge, we bring 25 plus years of experience to every Hamilton County project, ensuring that your walls remain a smooth, beautiful canvas for your life.
If you have holes that need more than a quick fix, or if you are ready to refresh your home with a professional interior paint job, we are here to help. Our commitment to excellence and high-quality craftsmanship is what has kept us serving this community since 1996.
Contact us today to discuss your project or learn more about our Professional drywall repair services.